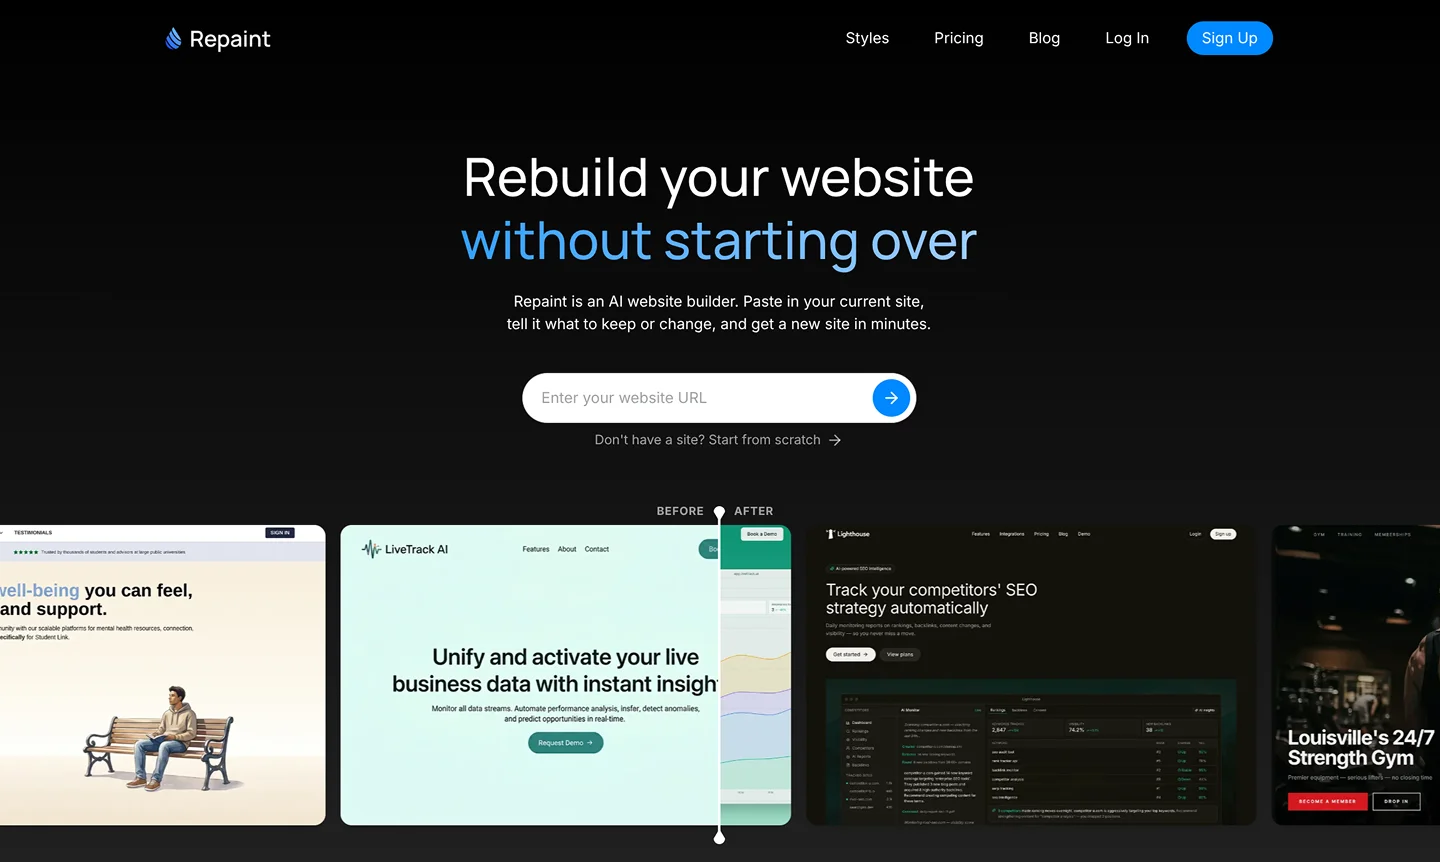
How to Rebuild a Webflow Website With AI
Learn how to rebuild your Webflow site using a new AI tool called Repaint. A step-by-step guide to migrating off Webflow without hiring a developer.

Introduction
Webflow is a powerful tool that can make excellent websites, but it's also notoriously hard to use. Thousands of businesses feel trapped in it.
Recently, AI tools have made it possible to build sites just as good by chatting with AI. And if you already have a Webflow site, you can rebuild it automatically so you don't have to start from scratch.
In this guide, I'll show you how to migrate a Webflow website into a new AI tool called Repaint.
Why Rebuild a Webflow Website?
AI website builders are dramatically easier to use than Webflow. Instead of learning a complex visual editor, you describe what you want and it happens. That makes it realistic to actually keep your site up to date instead of treating every change as a risk.
The reason most people haven't switched is that leaving Webflow has always meant rebuilding everything from scratch. AI tools changed that equation. For the first time, you can take what you already have and move it somewhere easier without starting over or paying someone thousands of dollars.
How AI Website Migration Works
AI migration works by reading your existing site and rebuilding it in a new platform. It pulls in your content, images, and layout, then generates a new version you can edit by chatting with AI. Once you're happy with it, you transfer your domain and you're done.
If you try to clone the original exactly, it will only be an 80% replica. The AI usually loses details in translation. Animations are particularly hard to transfer. But it will migrate your content, recreate your layouts, and get you much closer than a template ever could. Then you can fix all the details by asking the AI to make changes.
If your site is five years old and feeling stale, this is a natural moment to change the design. Repaint can take your existing content and build a completely new design around it.
Step 1: Import Your Content
Start by opening your published Webflow website and copying its URL. Then:
- Go to the AI website redesign tool.
- Paste in your Webflow website URL and submit.
- Create a Repaint account.
This starts the website rebuild process. Repaint will scan your site, download your images, and take screenshots of each page to understand your original site.
This only works for publicly available websites, which means your Webflow site needs to be published, even if it's on a free Webflow subdomain like xxxx-xxxx-xxxx.webflow.io.
Once Repaint has a good sense of your business, it will start asking you questions to plan the new site. It's a guided process, so you don't need anything prepared.
Step 2: Plan Your New Website
Before building anything, Repaint will ask you questions to understand what you're going for. This usually takes 3-5 messages. Think of it as a short interview: Repaint wants to know which pages to keep, whether to reorganize anything, and what style to use. Once you've answered, it writes out a plan for you to approve.
If you're not sure what you want, that's fine. You can let Repaint propose a plan. If you don't like what it makes, you can always ask it to try again. You're not locked into your first attempt.
Plan the Content
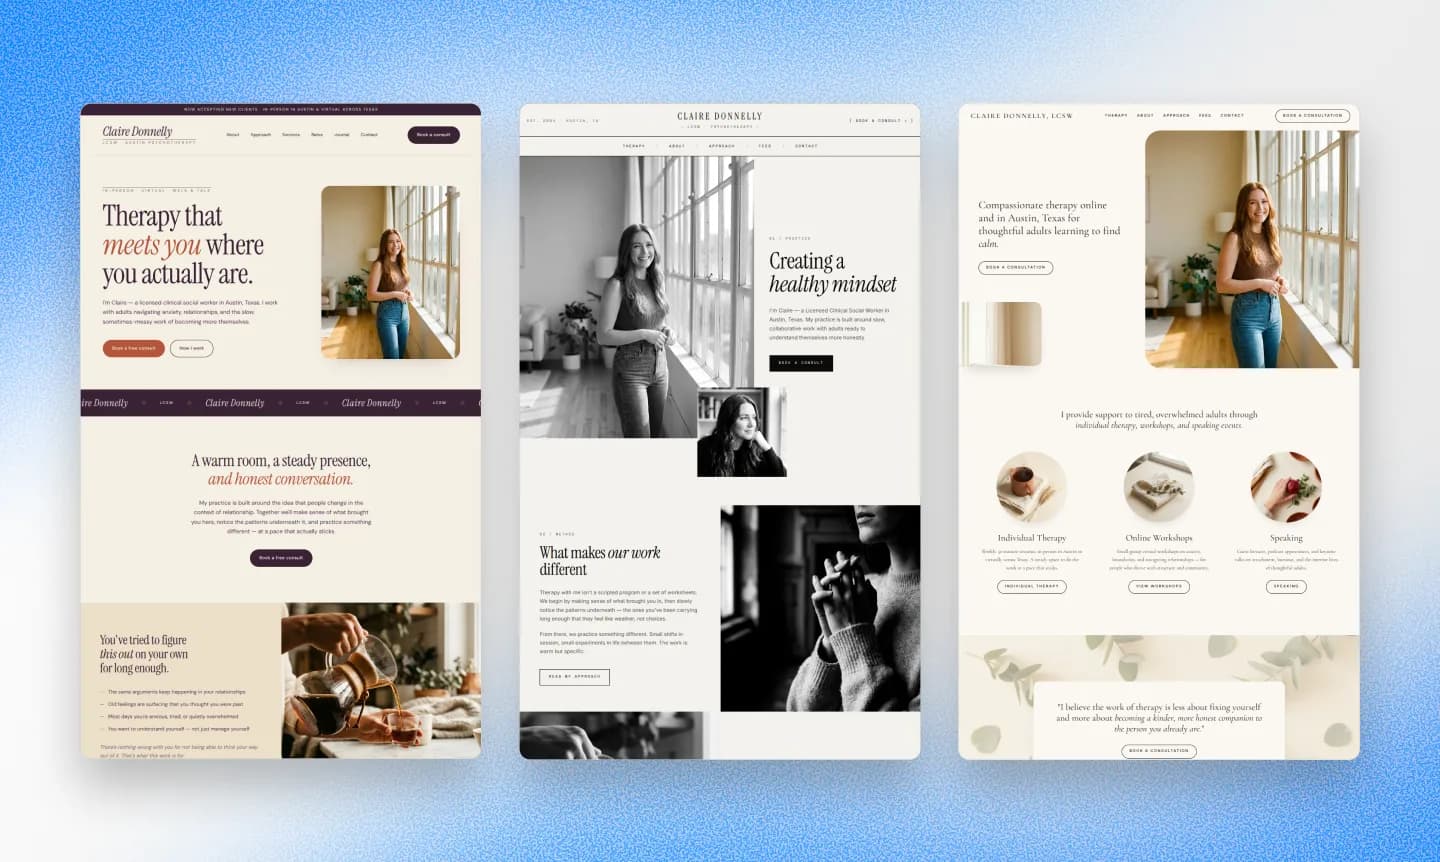
The simplest approach is to bring everything over as-is. Same pages, same text, same images. If your current site structure works and you just want a better tool to manage it, this is the way to go.
But if your site has grown messy over time, this is a chance to clean it up. Maybe you have blog posts that are outdated, landing pages from old campaigns, or sections that never made sense. You can tell Repaint which pages to keep and which to skip, or ask it to suggest a simpler structure based on what it found.
If your Webflow site uses CMS collections, like a blog, case studies, or a portfolio, you can bring those over too. CMS pages follow a repeating template, so start with just one or two to make sure the layout looks right. More broadly, if your site has more than 20 pages, importing all of them in one shot will likely use the entire free tier usage limit. You'll be prompted to upgrade to continue. For large sites, it's usually good to start with a small sample, then bring over the rest after you've seen the initial site.
Plan the Style
You have a few options for how your new site should look:
- Recreate your original look
- Match another website's style
- Ask for a custom style
- Let Repaint decide
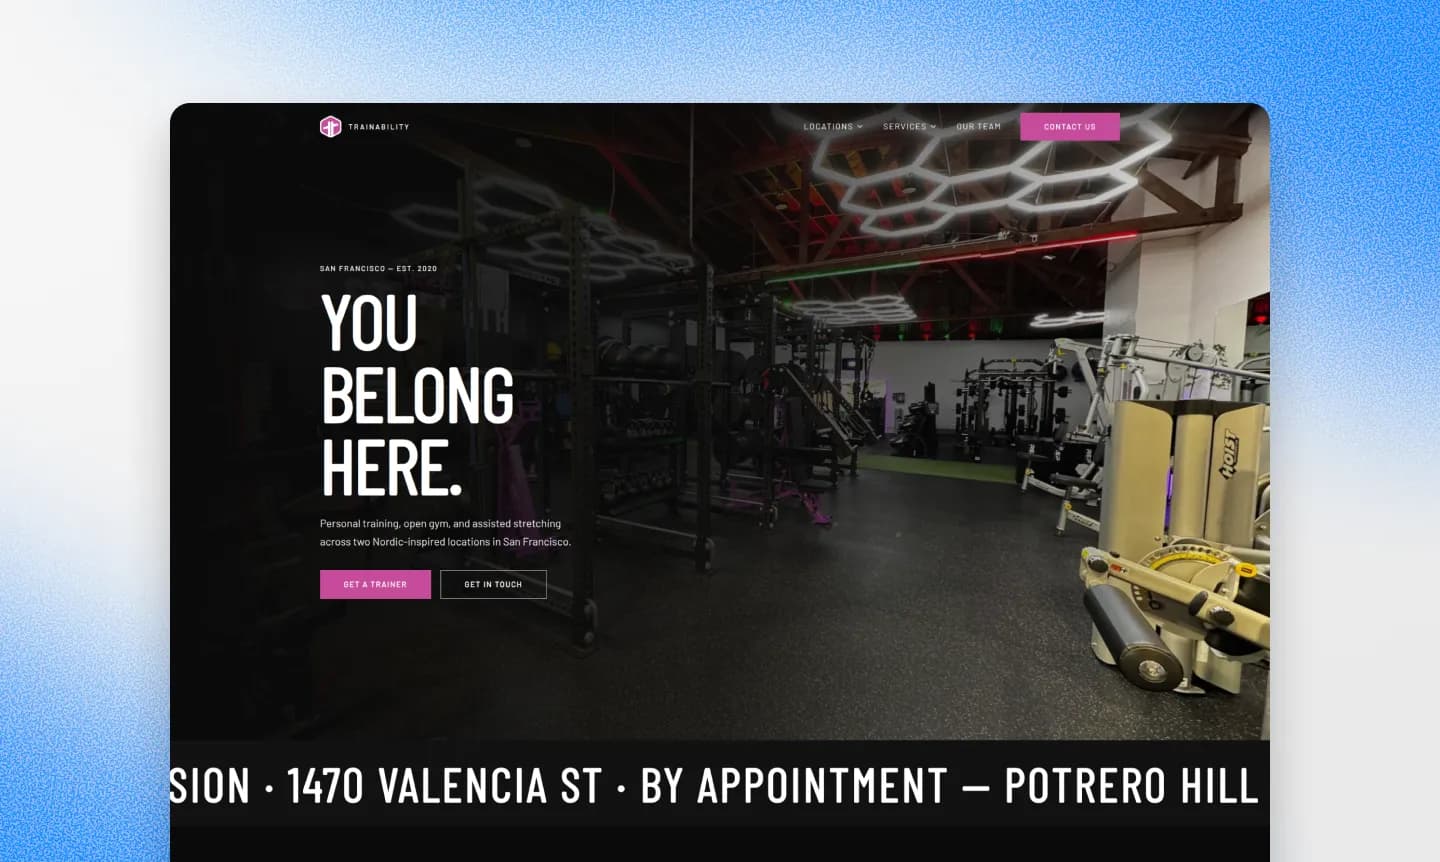
No matter which approach you choose, you can customize the result. Repaint can incorporate your brand colors and fonts into any style, so you're not stuck with exactly what you pick here.
Review the plan
Before generating anything, Repaint writes out exactly what it's going to build: which pages, what content, and what style. Look it over and make any last changes. It's a lot faster to fix the plan than to regenerate the whole site.
Once you confirm, Repaint will build your new website!
Step 3: Generate Your Website
Once you confirm the plan, Repaint starts building your site. You'll see progress messages as it works through each page. A simple homepage might take a minute or two. A big website with dozens of pages can take longer than ten minutes.
Behind the scenes, Repaint is writing the code for your new site using your content and style. Once it finishes, it takes screenshots of what it built to catch obvious issues before showing you the result.
You might spot a few rough edges in the first version: a button with hard-to-read text, a logo that's too small, or spacing that looks off. That's normal, and you can fix these details by talking to Repaint.
One thing that may not carry over seamlessly is animations. Webflow has a robust animation system, and the AI often struggles to infer how animations work from screenshots alone. You'll need to recreate missing scroll effects, hover animations, or page transitions by describing what you want. Repaint can make the same animations. It just won't always transfer automatically.
Step 4: Make Adjustments

After generating your site, you can make changes by chatting with Repaint.
Start by evaluating the overall visual style, like colors, fonts, and layouts. It's the foundation that everything is built on. If you decide to change it later, it can reshape the whole site and effectively undo any detail-polishing work you did.
Once you're happy with the overall style, you can work through the finer details: making sure text is accurate, images are in the right places, links work, and spacing looks right on every page.
Review SEO
If your Webflow site was getting search traffic, SEO is worth paying attention to during your migration. Google ranks individual pages, not websites. Each page on your site has built up its own ranking over time, and that ranking is tied to its specific URL. If you move to a new platform and those URLs change or disappear, Google treats them as new pages with no history, and you lose the traffic they were earning.
Ask Repaint to compare your old site to the new one and confirm that all your pages exist at the same URLs they had on Webflow. If any URLs did change, you'll want to set up redirects from the old ones to the new ones so Google can follow the trail. Repaint can help with that.
When your site looks good and the content is correct, you're ready to publish.
Step 5: Publish
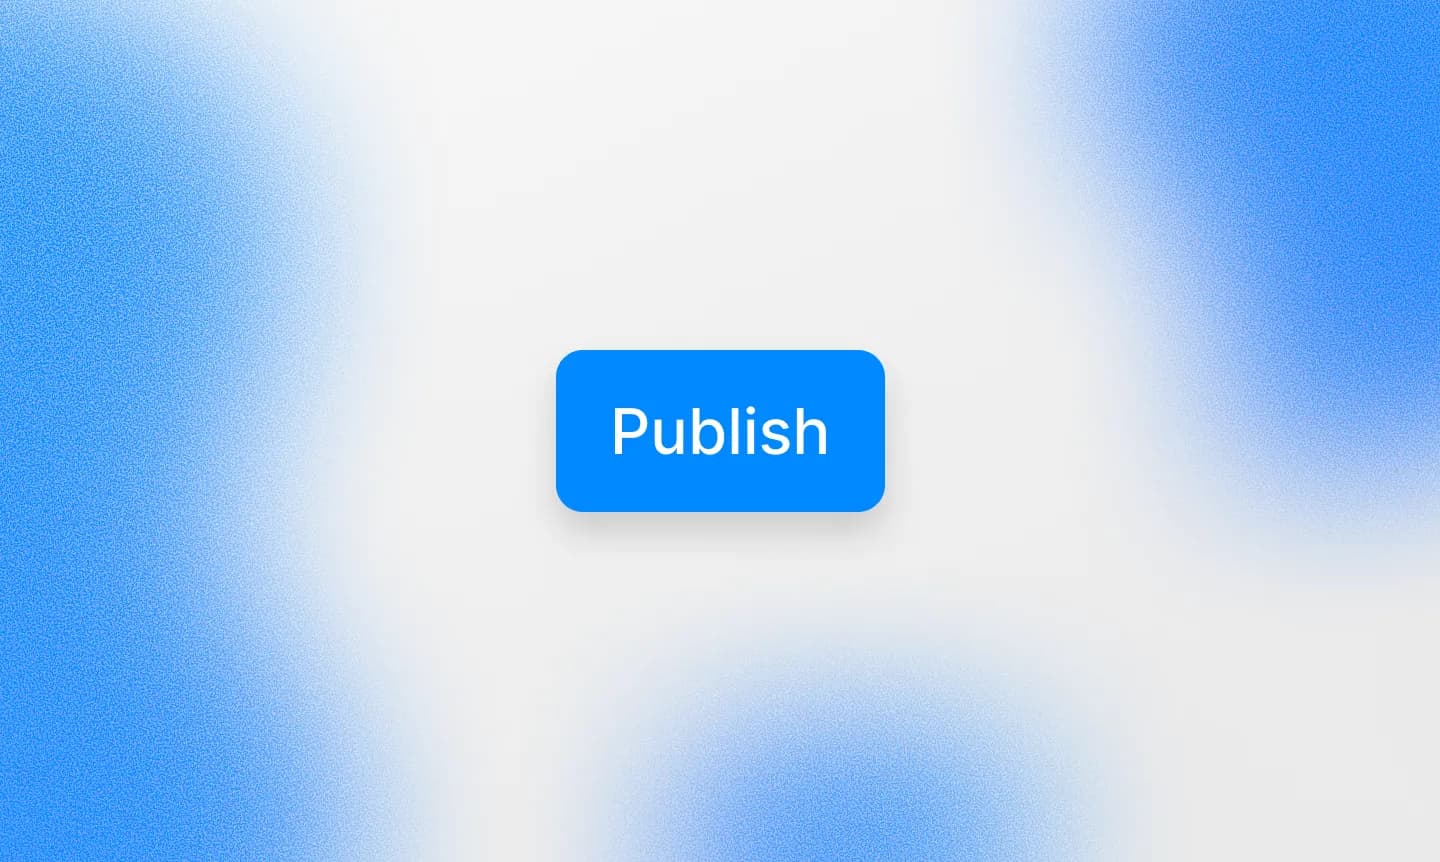
When you're ready, hit the Publish button in the top right corner. This works the same way publishing does in Webflow. Your site goes live on a Repaint URL that you can share with anyone. It will look something like this: https://xxxxxx-xxxxxx-xxxxxx.sites.repaint.com
This makes it a real website on the internet. You can open it on your phone, send it to a friend, or post it on social media.
At this point, you have two websites live: one on Repaint, and one on Webflow. Your domain is still pointing to your Webflow site, so nothing has changed for your visitors yet. When you're ready to make the switch, you can transfer your domain to point to the new one.
Step 6: Transfer Your Domain

When you're ready to go live, you need to point your domain to Repaint. Go to Website Settings > Domains and click Connect a Custom Domain. This requires a paid plan. You can see pricing details here.
Your domain is separate from Webflow. It's registered with a domain provider like GoDaddy, Namecheap, or Cloudflare. You don't need to move it anywhere. You just update the settings at your domain provider so that your domain points to Repaint instead of Webflow. If someone else set up your website for you, make sure you have login access to your domain provider before starting this step.
If you've never done this before, don't worry. Ask Repaint to walk you through it. It'll tell you exactly what to do, step by step.
The change can take a few hours to take effect. Once Repaint shows your domain as verified, you're live. You can cancel your Webflow plan whenever you're ready.
Conclusion
For years, migrating off Webflow meant rebuilding from scratch or paying someone to do it for you. That's not the case anymore. You can bring your content into Repaint, get a working site in minutes, and manage it yourself without needing to learn a complex tool. If you've been putting off a rebuild because it felt like too much work, now is a good time to try it.
FAQ
How long does a Webflow migration take?
It usually takes 3-15 minutes to plan the site, import your content, and generate the new website. Afterwards, time-to-publish depends on how many adjustments you need to make, and if you have to import more content. Most sites can be migrated within a few hours at most.
Will my site look the same on mobile?
Repaint automatically builds your site so it adapts to different screen sizes. Most of the time, you don't need to worry about it. But if you notice anything that's off, you can ask Repaint to make changes for specific device sizes.
Will my forms still work after migrating?
Yes. Repaint can create contact forms that send emails to your inbox. If you use a custom embed like Typeform or Google Forms, Repaint will try to connect it, but you may need to share the embed code with Repaint.
What happens to my Webflow site during the migration?
While you're migrating, nothing happens to your Webflow site. It's completely separate. All you're doing is building a new site in Repaint. Then once you're happy with the new site, you can transfer your domain to point to the new one. Or if you decide to keep your Webflow site, there's no need to do anything.
Can I migrate a Webflow site with e-commerce?
Partially. Repaint can create websites for e-commerce, but it doesn't build the checkout process or handle payments. If you need to sell products, you'll need to connect to a third-party service like Shopify or Stripe. If your store uses embeddable widgets, share the embed code with Repaint and it will integrate it.
Can I migrate just one page to try it out?
Yes. You can import just one page to try it out. This is a good way to see if Repaint is a good fit for your business. Once you're happy with the result, you can ask Repaint to build the rest of your site.
How much does it cost to migrate from Webflow to Repaint?
It's free to generate a site and start editing. The main restrictions of free plans are that you have limited usage, can't add a custom domain, and the site will have a Repaint badge. Paid plans start at $20/month billed annually, or $25/month billed monthly. That includes expanded usage, custom domain support, and it removes the Repaint badge.
What happens when the AI makes a mistake? Can I undo individual changes?
As you make updates, Repaint saves every version of your site. You can ask Repaint to go back, and it will revert to a previous version. Or if you want to go back to a specific point in time, you can restore any previous versions manually.
How does Repaint handle custom code or third-party embeds from Webflow?
Repaint can run custom code or embeds from Webflow sites. It will try to automatically migrate everything in the first pass, but it often misses something. If it does, paste the embed code in chat and Repaint will handle it from there.


